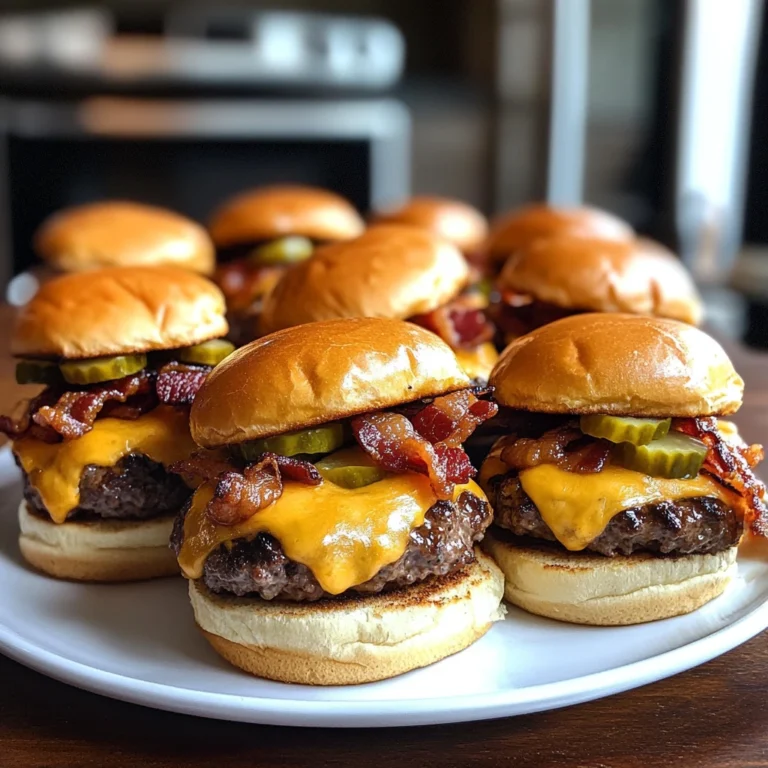
Cheesy Bacon Beast: The Ultimate Burger Experience
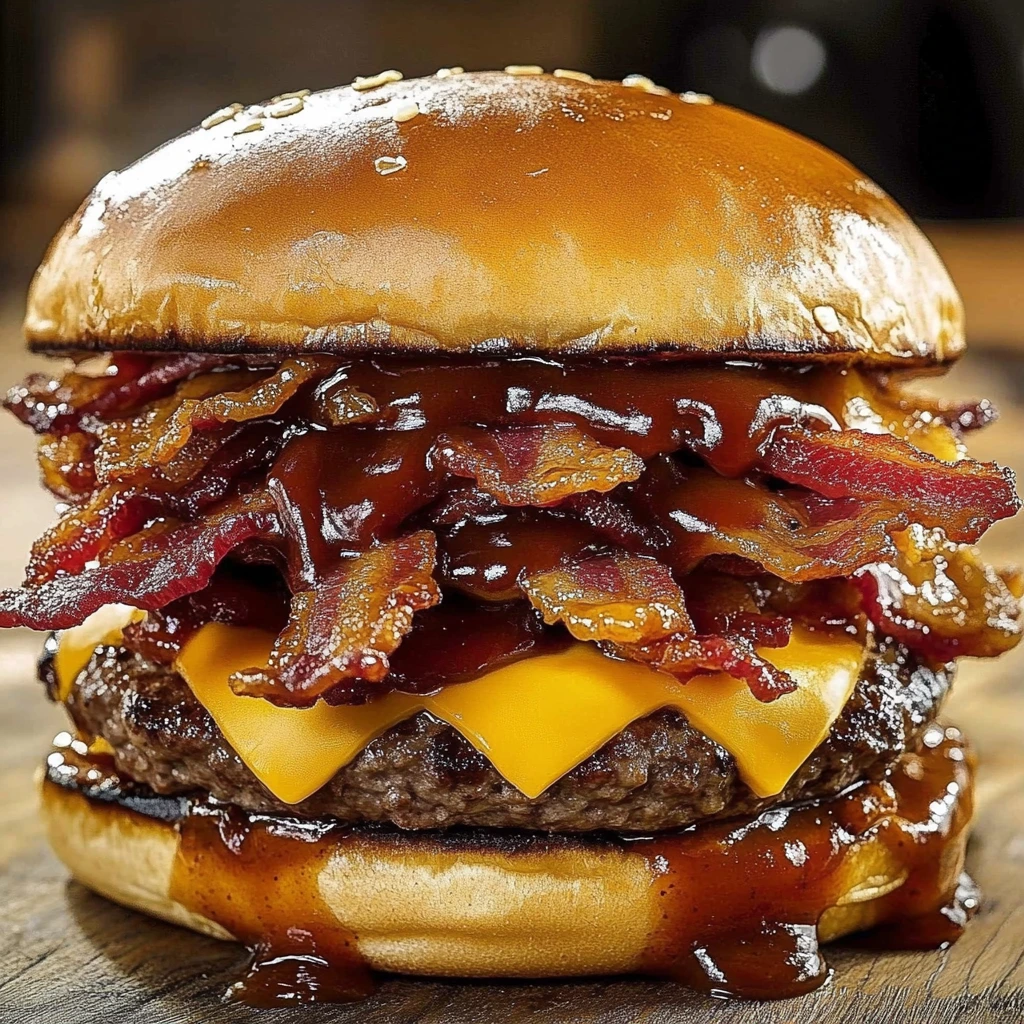
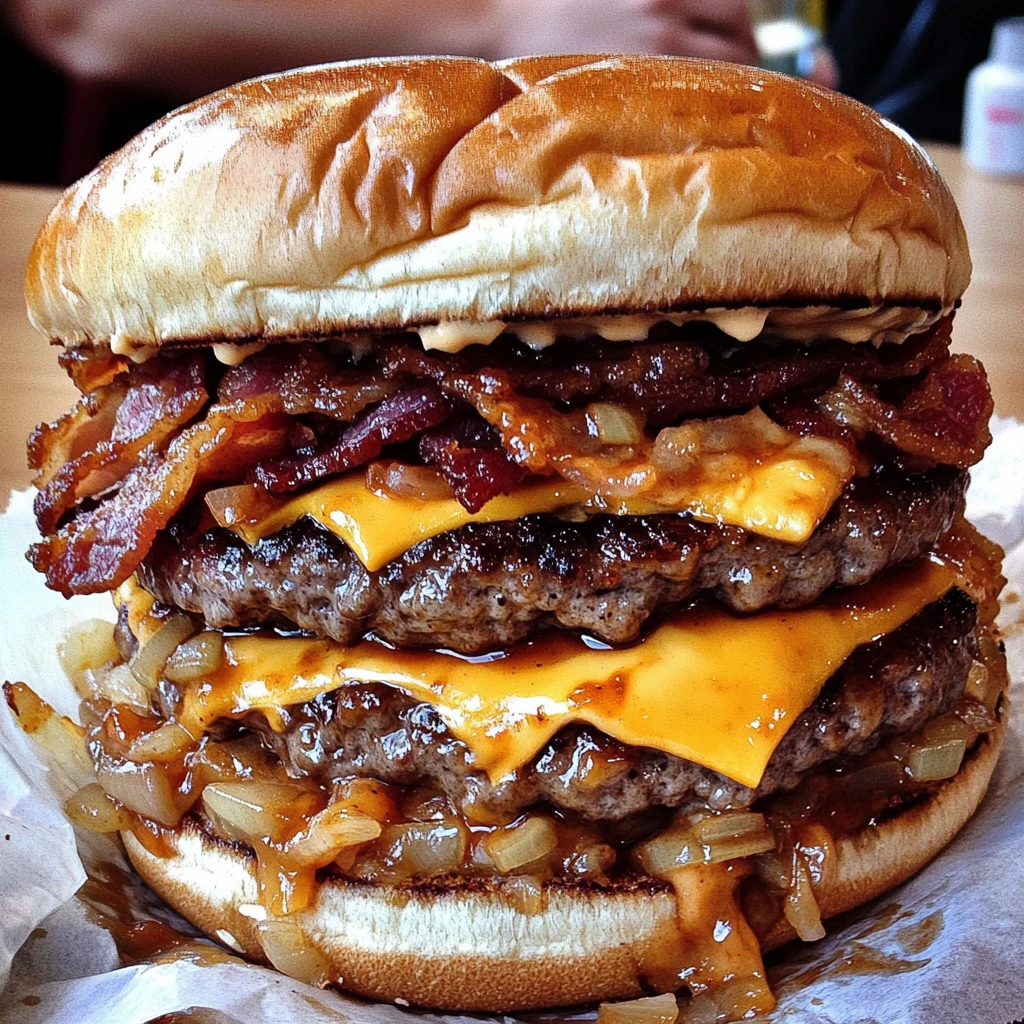
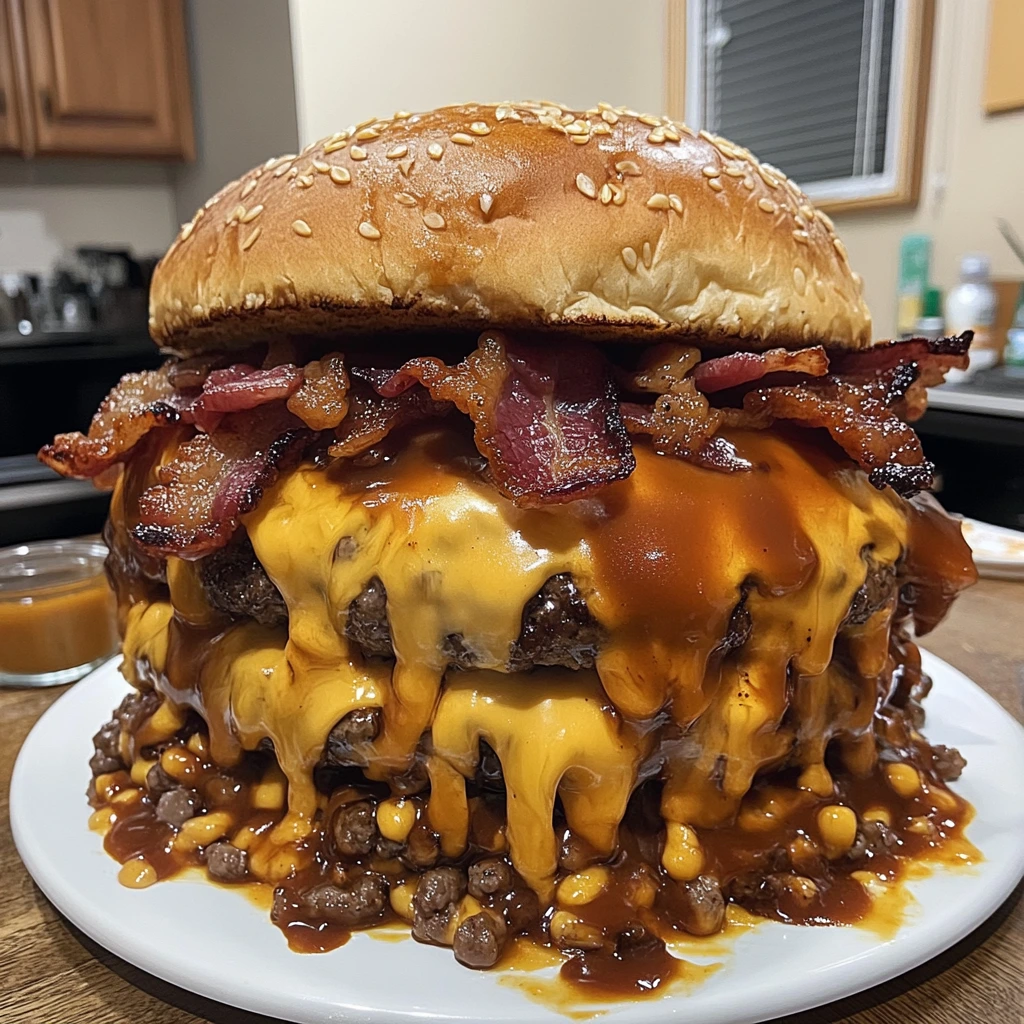
If you’re a burger enthusiast, prepare to meet your new obsession: the Cheesy Bacon Beast. This burger is the epitome of indulgence, combining a juicy beef patty, smoky BBQ sauce, crispy bacon, melted cheddar cheese, and caramelized onions, all nestled in a buttery toasted sesame bun. Every bite is a symphony of flavors and textures that will leave you craving more.
Table of Contents
In this article, we’ll guide you through every step of creating this mouthwatering masterpiece, from selecting the best ingredients to assembling the perfect burger. We’ll also share tips, tricks, and FAQs to ensure your Cheesy Bacon Beast turns out flawless every time. Let’s dive in!
Why This Burger is a Game-Changer
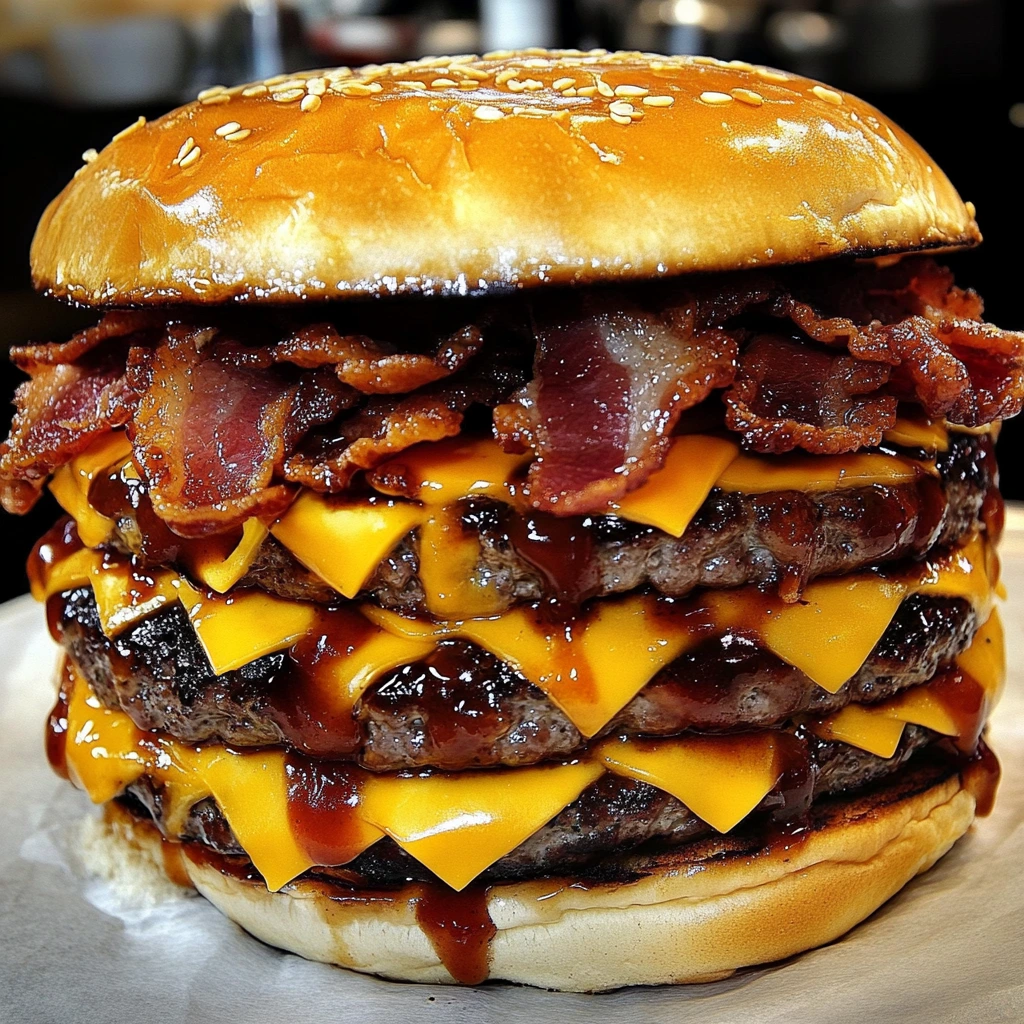
Burgers are a classic comfort food, but the Cheesy Bacon Beast takes things to a whole new level. What sets this burger apart is its perfect balance of flavors and textures. The juicy beef patty, smoky BBQ sauce, crispy bacon, and gooey cheddar cheese create a harmony that’s hard to resist. Add caramelized onions for a touch of sweetness, and you’ve got a burger that’s truly unforgettable.
This recipe is also incredibly versatile. Whether you’re hosting a backyard BBQ, enjoying a cozy night in, or simply treating yourself to a gourmet meal, the Cheesy Bacon Beast is always a hit. Plus, it’s surprisingly easy to make, even for beginner cooks.
Ingredients: The Building Blocks of Flavor
Every great burger starts with high-quality ingredients. Here’s a breakdown of what you’ll need and why each component matters:
The Patty and Toppings
- 1 juicy beef patty: Opt for an 80/20 blend for the perfect balance of flavor and juiciness.
- 2 tbsp smoky BBQ sauce: Adds a rich, tangy sweetness that complements the beef.
- 3 slices crispy bacon: Provides a smoky crunch that elevates the burger.
- 2 slices melted cheddar cheese: Melts beautifully for a gooey, cheesy finish.
The Bun and Extras
- 1 toasted sesame bun: Adds a buttery, slightly nutty flavor and a satisfying crunch.
- ¼ cup caramelized onions: Brings a touch of sweetness and depth to the burger.
- 1 tbsp butter for toasting: Ensures the bun is golden and crisp.
- 1 tbsp mayo (optional): Adds creaminess and richness to the final assembly.
Step-by-Step Instructions: Crafting the Perfect Burger
Now that we’ve covered the ingredients, let’s dive into the step-by-step process of making the Cheesy Bacon Beast. Follow these instructions for a foolproof result every time.
Step 1: Grill the Beef Patty
Start by grilling the beef patty to your desired level of doneness. Whether you prefer it medium-rare or well-done, make sure to cook it evenly on both sides. In the last minute of cooking, top the patty with the cheddar cheese slices to allow them to melt perfectly.
Step 2: Toast the Sesame Bun
While the patty is cooking, toast the sesame bun. Spread a tablespoon of butter on the cut sides of the bun and toast them in a skillet or on the grill until they’re golden and crisp. This step adds a delightful crunch and enhances the overall flavor of the burger.
Step 3: Assemble the Burger
Once the patty and bun are ready, it’s time to assemble your Cheesy Bacon Beast. Start by placing the cheesy beef patty on the bottom half of the bun. Layer the crispy bacon slices on top, followed by a generous drizzle of smoky BBQ sauce. Add the caramelized onions for a touch of sweetness, and if you’re using mayo, spread it on the top half of the bun.
Step 4: Devour and Enjoy
Finally, place the top half of the bun on your masterpiece and press down gently to bring all the flavors together. Serve immediately and enjoy every bite of this juicy, smoky, cheesy perfection!
Tips and Tricks for the Best Results
- Choose Quality Ingredients: The better the ingredients, the better the burger. Opt for fresh, high-quality beef, bacon, and cheese.
- Don’t Overcook the Patty: To keep the patty juicy, avoid overcooking it. Use a meat thermometer to ensure it reaches your desired internal temperature.
- Customize the Toppings: Feel free to add your favorite toppings, such as lettuce, tomato, or pickles, to make the burger your own.
FAQs: Answering Your Questions
Can I Make This Burger Ahead of Time?
While it’s best enjoyed fresh, you can prepare some components in advance. Cook the bacon and caramelize the onions ahead of time, then reheat them when you’re ready to assemble the burger.
What Can I Substitute for BBQ Sauce?
If you’re not a fan of BBQ sauce, try using a spicy aioli, garlic mayo, or even a tangy mustard sauce for a different flavor profile.
How Do I Store Leftovers?
Store any leftover components (patty, bacon, onions) in separate airtight containers in the refrigerator for up to 2 days. Reheat and assemble when ready to eat.
Nutritional Information and Dietary Considerations
While the Cheesy Bacon Beast is undeniably indulgent, you can make a few tweaks to suit your dietary needs. For a lighter version, use turkey bacon and a lean beef patty. You can also opt for a whole-grain bun or a lettuce wrap for a low-carb option.
More Delicious Recipes to Try
If you loved the Cheesy Bacon Beast, you’ll definitely want to check out these other mouthwatering recipes:
- Cheeseburger Bacon Ranch Stuffed Pasta: A hearty and flavorful dish that combines the best of cheeseburgers and stuffed pasta. Perfect for family dinners!
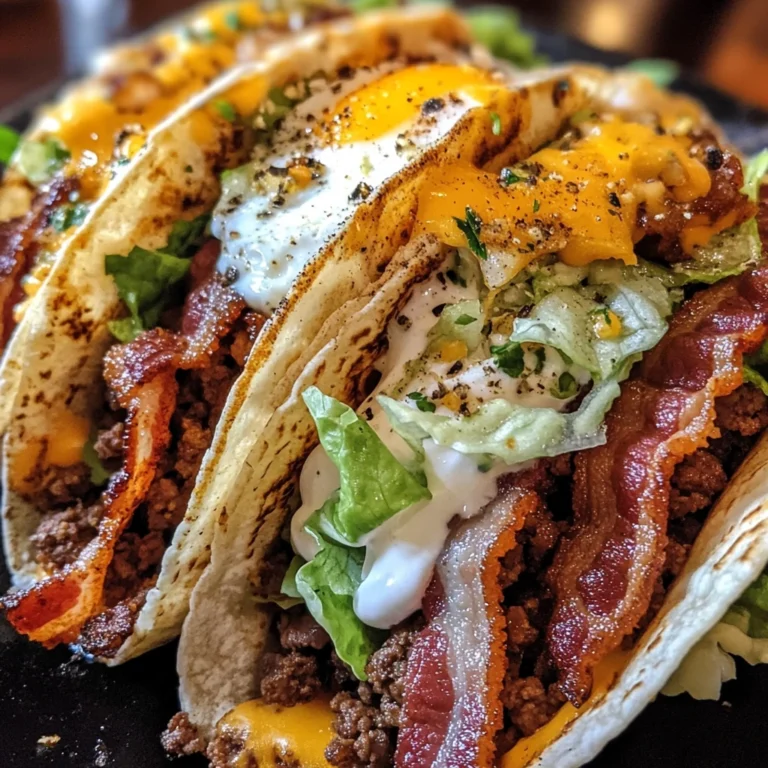
- Bacon Beef Tacos: 7 Quick and Easy Recipe Ideas: A collection of delicious taco recipes featuring bacon and beef for a smoky, savory twist.
- How to Make the Best Cuban Burger in 5 Easy Steps: A flavorful burger inspired by Cuban cuisine, featuring ham, Swiss cheese, and pickles.
Conclusion: A Burger Worth Savoring
The Cheesy Bacon Beast is more than just a burger—it’s an experience. With its juicy patty, smoky bacon, melted cheddar, and caramelized onions, it’s a dish that’s sure to become a staple in your recipe collection. So, fire up the grill, gather your ingredients, and get ready to create a burger that will have everyone asking for seconds. Happy cooking!