Red Velvet Cheesecake Bars: 6 Creative Variations to Try
Engaging Introduction
Have you ever wondered if your favorite dessert could be made even better? Imagine taking a classic red velvet cheesecake and transforming it into something entirely new—something that’s not just delicious but also fun, creative, and packed with personality. These Red Velvet Cheesecake Bars are the perfect starting point for your culinary adventure. But why stop at one version when you can explore six exciting variations? Whether you’re a fan of fruity twists, chocolatey indulgence, or unexpected surprises like peanut butter, there’s a variation here to suit every taste bud. Ready to dive in and discover how versatile this dessert really is? Let’s get started!
Table of Contents
Overview
What Makes This Recipe Special?
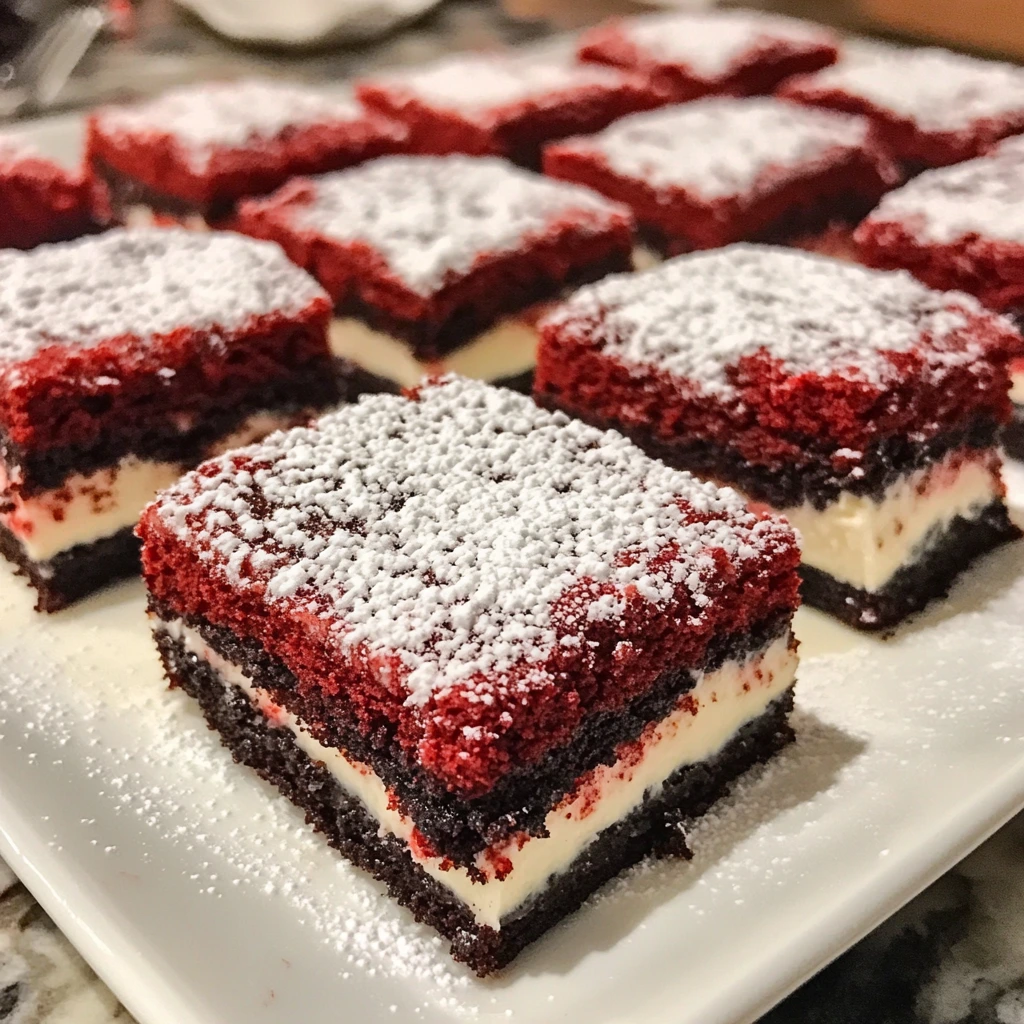
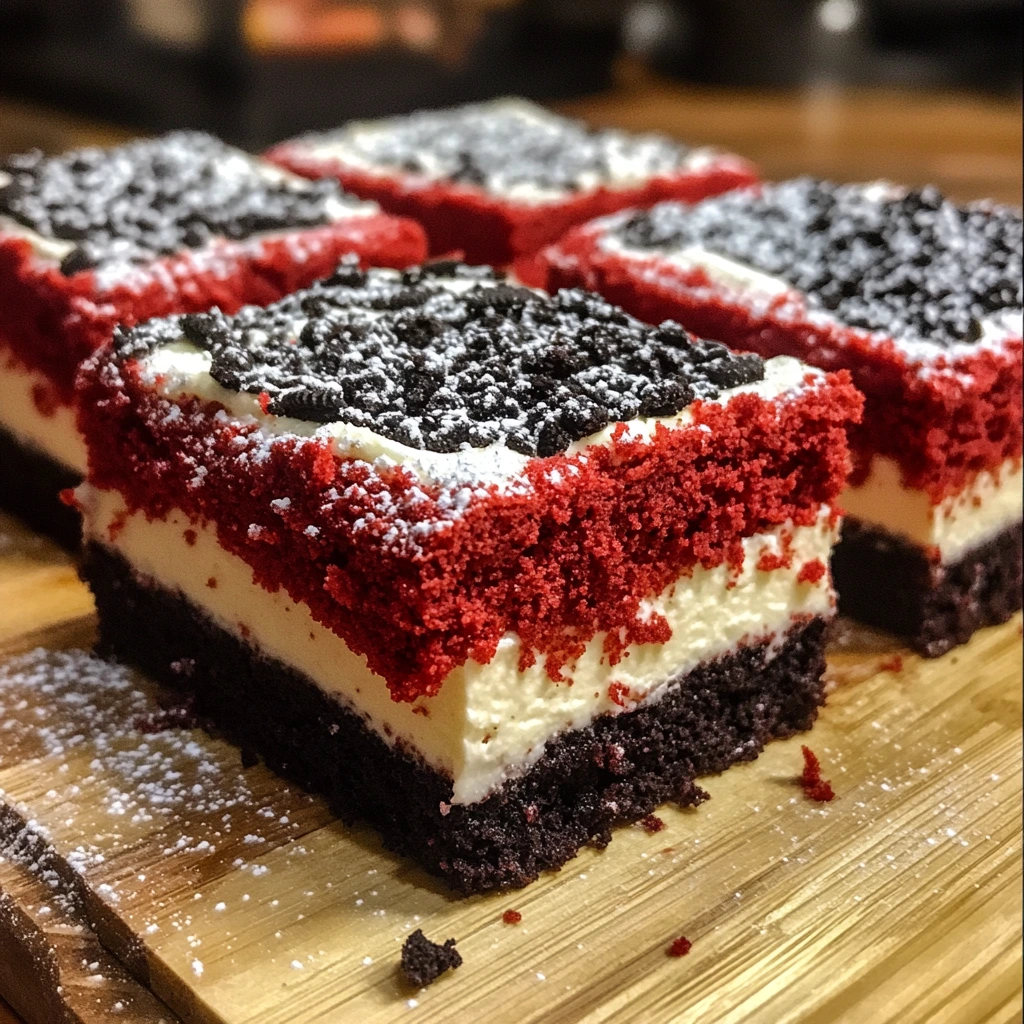
These Red Velvet Cheesecake Bars combine three irresistible elements: the bold flavor of red velvet cake, the creamy richness of cheesecake, and the satisfying crunch of crushed cookies (or other toppings). They’re easy to make, visually stunning, and adaptable to countless flavors and textures. Plus, they don’t require any fancy equipment—just a few basic kitchen tools and some creativity.
Time Requirement
- Prep Time: 20 minutes
- Bake Time: 30-35 minutes
- Cooling/Chilling Time: 2 hours
- Total Time: About 3 hours
Difficulty Level
This recipe is rated as easy, making it ideal for both beginners and experienced bakers. With simple steps and minimal prep work, these bars are perfect for busy weeknights or last-minute gatherings.
Essential Ingredients
To create the ultimate Red Velvet Cheesecake Bars, you’ll need the following key ingredients:
- Red Velvet Cake Mix: The base of the crust, providing that iconic red color and rich flavor.
- Why it matters: It simplifies the process while delivering consistent results.
- Substitutions: Use a homemade red velvet cake recipe if you prefer, or opt for gluten-free mixes for dietary restrictions.
- Cream Cheese: Softened cream cheese forms the heart of the creamy cheesecake layer.
- Why it matters: Its tangy flavor balances out the sweetness of the red velvet.
- Substitutions: For dairy-free options, try using a vegan cream cheese alternative.
- Crushed Cookies: Typically Oreos, but feel free to experiment with different types.
- Why it matters: Adds texture and extra flavor to the crust and topping.
- Variations: Chocolate chip cookies, graham crackers, or mint-flavored cookies all work beautifully.
- Eggs: Bind the ingredients together and help set the cheesecake layer.
- Why they matter: Eggs provide structure and stability.
- Butter: Melted butter binds the crust ingredients and adds richness.
- Why it matters: Butter enhances the overall flavor and helps the crust hold its shape.
- Substitutions: Use margarine or coconut oil for dairy-free versions.
- Powdered Sugar: Sweetens the cheesecake layer and doubles as a decorative dusting.
- Vanilla Extract: Enhances the flavor profile of the cheesecake.
Step-by-Step Instructions
Step 1: Prepare the Crust
- Preheat your oven to 350°F (175°C). Grease a 9×9-inch baking pan with cooking spray or butter.
- In a large mixing bowl, combine the red velvet cake mix, melted butter, and one egg. Stir until a crumbly dough forms.
- Fold in crushed cookies (reserve about 1/4 cup for garnish later).
- Press the mixture evenly into the prepared baking pan, ensuring the crust is compact and level.
Step 2: Make the Cheesecake Layer
- In a separate bowl, beat the softened cream cheese until smooth. Add powdered sugar, vanilla extract, and the remaining egg. Beat until well combined and creamy.
- Pour the cheesecake mixture over the prepared crust, spreading it evenly with a spatula.
Step 3: Bake and Cool
- Place the pan in the preheated oven and bake for 30-35 minutes, or until the edges are set but the center still jiggles slightly.
- Remove from the oven and let it cool completely at room temperature.
- Once cooled, refrigerate the bars for at least 2 hours to allow the cheesecake layer to firm up.
Step 4: Assemble and Garnish
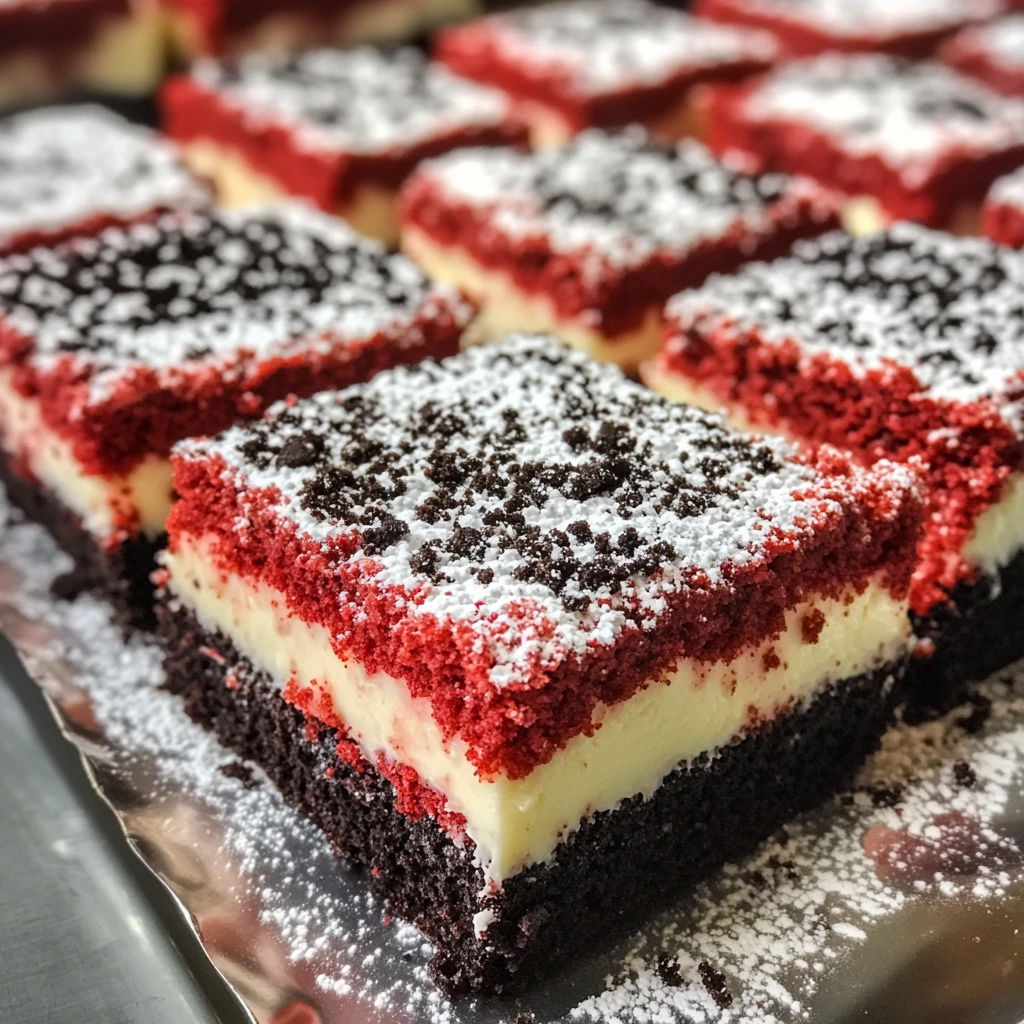
- Dust the top of the bars with powdered sugar for a light, elegant finish.
- Sprinkle the reserved crushed cookies on top for added texture and visual appeal.
- Slice into squares and serve chilled.
Assembly
Presentation Tips
- Use a sharp knife to slice the bars cleanly. Wipe the blade between cuts for neat edges.
- Consider adding fresh fruit, whipped cream, or drizzled chocolate for an extra touch of flair.
- Arrange the bars on a decorative platter for a beautiful presentation.
Storage and Make-Ahead Tips
Storing Your Bars
- Store leftover bars in an airtight container in the refrigerator for up to 5 days.
- To freeze, wrap individual bars tightly in plastic wrap and place them in a freezer-safe bag. They’ll keep for up to 2 months. Thaw in the fridge before serving.
Make-Ahead Options
- Prepare the crust and cheesecake layer up to a day in advance. Assemble and bake just before serving.
- You can also bake the bars ahead of time and store them in the fridge until ready to serve.
Recipe Variations
Here are six creative ways to take your Red Velvet Cheesecake Bars to the next level:
Variation 1: Peanut Butter Bliss
Add a swirl of creamy peanut butter to the cheesecake layer for a nutty twist. Alternatively, press a thin layer of peanut butter onto the crust before adding the cheesecake filling.
Variation 2: Mint Chocolate Madness
Swap regular Oreos for mint-flavored ones and add a drizzle of dark chocolate on top for a refreshing, festive treat.
Variation 3: Berrylicious Delight
Fold chopped fresh raspberries or strawberries into the cheesecake batter for bursts of juicy flavor. Top with additional berries before chilling.
Variation 4: S’mores Sensation
Use graham crackers instead of Oreos in the crust and sprinkle mini marshmallows on top before baking. Finish with a drizzle of melted chocolate for a campfire-inspired dessert.
Variation 5: Lemon-Lime Zest
Zest a lemon or lime into the cheesecake batter for a bright, citrusy kick. Garnish with candied lemon slices or lime zest.
Variation 6: Salted Caramel Dream
Drizzle salted caramel sauce over the crust before adding the cheesecake layer. After baking, add more caramel on top and sprinkle with flaky sea salt for contrast.
Conclusion
These Red Velvet Cheesecake Bars are more than just a dessert—they’re a canvas for creativity. By experimenting with different flavors, textures, and toppings, you can turn a simple recipe into something truly unique. So whether you stick with the classic version or try one (or all!) of the variations listed above, remember to have fun and enjoy the process. Happy baking!
FAQs
Q1: Can I use homemade red velvet cake instead of a mix?
Absolutely! If you have a favorite homemade red velvet cake recipe, feel free to use it for the crust. Just adjust the measurements to fit the proportions of the recipe.
Q2: How do I prevent cracks in the cheesecake layer?
Avoid overmixing the batter, and let the bars cool gradually by leaving them in the turned-off oven with the door slightly ajar.
Q3: Are there any health benefits to this recipe?
While this is a decadent treat, cream cheese provides calcium, and the red velvet mix often contains iron and vitamins. Adding fruits like berries boosts the nutritional value slightly.
Q4: Can I freeze these bars?
Yes! Wrap individual bars in plastic wrap and store them in a freezer-safe bag for up to 2 months. Thaw in the fridge overnight before serving.
Q5: Can I use a different type of cookie?
Definitely! Experiment with chocolate chip cookies, graham crackers, or shortbread cookies for a unique twist.